


Have you ever wanted a cutting board that fits perfectly in your kitchen and matches your style? Making your own cutting board is easier than you think.
Not only will you save money, but you’ll also create a unique piece that feels truly yours. Imagine the pride you’ll feel every time you chop vegetables or carve meat on a board you built with your own hands. In this guide, you’ll discover simple steps and tips to craft a beautiful, durable cutting board that lasts for years.
Ready to turn raw wood into a kitchen essential? Let’s get started!
Choosing The Right Wood
Choosing the right wood is key to making a strong, safe cutting board. Wood type affects how the board looks, feels, and lasts over time. Some woods are harder, while others resist water better. Knowing the best wood helps you make a cutting board that lasts long and stays safe for food.
Hardwood Vs Softwood
Hardwood is best for cutting boards. It is tough and resists knife marks. Softwood is easy to scratch and can wear out fast. Hardwoods like maple and walnut are popular choices. They stay smooth and strong through many uses.
Food Safety
Wood must be safe for food contact. Avoid woods that release toxins or taste bad. Some woods have natural oils that fight bacteria. Maple and cherry are safe and clean. They do not absorb smells or stains easily.
Durability And Maintenance
Choose wood that lasts long with simple care. Hardwoods handle chopping and washing well. They need regular oiling to prevent drying and cracking. A good cutting board keeps its shape and color after use.
Grain And Appearance
Wood grain affects the board’s look and feel. Straight grains are easier to clean and cut on. End grain boards hide knife marks better. Choose a wood with a nice color and pattern you like.

Gathering Essential Tools
Gathering the right tools is the first step to making a good cutting board. Proper tools make the process easier and safer. You will need a few basic items to start your woodworking project. These tools help shape, smooth, and finish the wood perfectly.
Choosing The Wood
Select hardwood like maple, walnut, or cherry. These woods resist cuts and last longer. Avoid softwoods as they can damage easily and absorb moisture.
Essential Hand Tools
A saw is necessary to cut the wood to size. A chisel helps to shape edges and corners. Sandpaper or a sanding block smooths the surface for a clean finish.
Power Tools For Efficiency
A power sander speeds up smoothing. A router can create decorative edges. A drill may be needed for adding handles or holes.
Safety Equipment
Safety glasses protect your eyes from dust and wood chips. Gloves shield your hands from splinters and sharp tools. A dust mask keeps you safe from inhaling fine particles.
Preparing The Wood Pieces
Preparing the wood pieces is the first step in making a cutting board. This step ensures the board is strong and looks good. Careful preparation helps avoid problems later, like cracks or rough edges. It also makes the board safe for food use.
Select hardwood like maple, walnut, or cherry. These woods resist cuts and last longer. Avoid softwoods because they dent easily. Pick wood that is dry and free from cracks.
Cutting The Wood To Size
Cut the wood into strips of equal width. Use a saw for straight, clean cuts. Keep the lengths consistent to make joining easier. Use safety gear during cutting to protect yourself.
Sanding The Wood Pieces
Sand each strip to smooth the surface. Start with coarse sandpaper, then use finer grit. Remove all rough spots to avoid splinters. Clean dust off the wood before gluing.
Checking Wood Grain Direction
Look at the grain pattern on each piece. Align grains in the same direction for strength. This also creates a nicer pattern on the board. Avoid mixing grain directions to prevent warping.
Designing Your Cutting Board
Designing your cutting board is a fun and creative step. It shapes how the board looks and works. A good design makes the board useful and nice to see.
Think about the size and shape you want. Will you cut big vegetables or small fruits? This choice guides your board’s design.
Wood type affects strength and beauty. Hardwoods like maple and walnut last longer. They resist cuts and stains better than soft woods.
Pick wood that feels smooth and safe for food. Avoid woods that can splinter or taste bad.
Selecting The Board Shape And Size
Rectangles are common and easy to store. Round boards look stylish and fit small kitchens. Size depends on your kitchen space and cutting needs.
Make sure the board is big enough for your tasks. Too small means extra work; too big is hard to handle.
Adding Functional Features
Consider grooves to catch juices from fruits or meat. These prevent mess on your counter. Handles make carrying the board easier.
Non-slip feet help the board stay steady. Think about what features will help you cook better.
Cutting And Shaping The Wood
Cutting and shaping the wood is a key step in making a cutting board. This step turns rough wood into a smooth, usable surface. Proper cutting and shaping ensure the board is safe and lasts long.
Start by marking your wood with a pencil. Use a ruler to draw straight lines for precise cuts. Measure twice, cut once to avoid mistakes.
Choosing The Right Tools
Select a saw that fits your skill level. A table saw offers straight, clean cuts. A handsaw works well for smaller pieces or curves. Sandpaper or a planer smooths rough edges after cutting.
Cutting The Wood
Follow your pencil lines carefully. Cut slowly to keep control. Keep your hands safe by using clamps. Cut the wood into the desired size and shape.
Shaping The Edges
Round the board’s edges with sandpaper or a router. Smooth edges prevent splinters and feel nice to touch. Sand in a circular motion for an even shape.
Final Smoothing
Use fine-grit sandpaper on the whole surface. Sand until the wood feels smooth and clean. This step prepares your board for finishing and use.
Joining Wood Pieces
Joining wood pieces is a key step in making a cutting board. This part creates a strong and smooth surface. Proper joining keeps the board flat and durable. It also improves the cutting board’s look and feel.
Preparing The Wood Edges
Start by sanding the edges of each wood piece. Make sure the edges are straight and smooth. Use a planer or sandpaper for this task. Clean edges help the pieces fit tightly together. Tight joints prevent gaps and weak spots.
Applying Wood Glue
Spread wood glue evenly on the edges to be joined. Use enough glue to cover the entire edge. Avoid using too much glue to stop mess and waste. Press the pieces together right after applying glue. The glue bonds the wood pieces firmly.
Clamping The Pieces
Use clamps to hold the wood pieces tightly in place. Clamping keeps the board flat while the glue dries. Tight clamps stop the pieces from moving or warping. Leave the clamps on for at least one hour. This step ensures a strong bond.
Removing Excess Glue
Wipe off extra glue immediately with a damp cloth. Removing glue early stops it from drying on the surface. Dried glue can make sanding and finishing harder. Keep the surface clean for a smooth finish.
Sanding For Smoothness
Sanding is a key step to make your cutting board smooth and safe. It removes rough spots and splinters that can hurt your hands or damage knives. A well-sanded board also looks better and lasts longer. This process takes patience but improves the board’s quality greatly.
Sanding Tools Needed
Use sandpaper with different grits. Start with coarse grit like 80 or 100 to remove rough wood. Then use medium grit, around 150 to 180. Finish with fine grit, like 220, for a silky surface. A sanding block or electric sander helps keep even pressure.
How To Sand Properly
Sand along the wood grain, not against it. This avoids scratches and roughness. Move the sander evenly across the surface. Check often by touch and sight. Change sandpaper when it gets worn out. Do not rush. Take time for a smooth finish.
Final Touches For Smoothness
After sanding, wipe the board with a damp cloth. This removes dust and shows if more sanding is needed. Feel the board edges and corners carefully. Sand these areas gently to avoid sharp spots. Your board should feel soft and even all over.
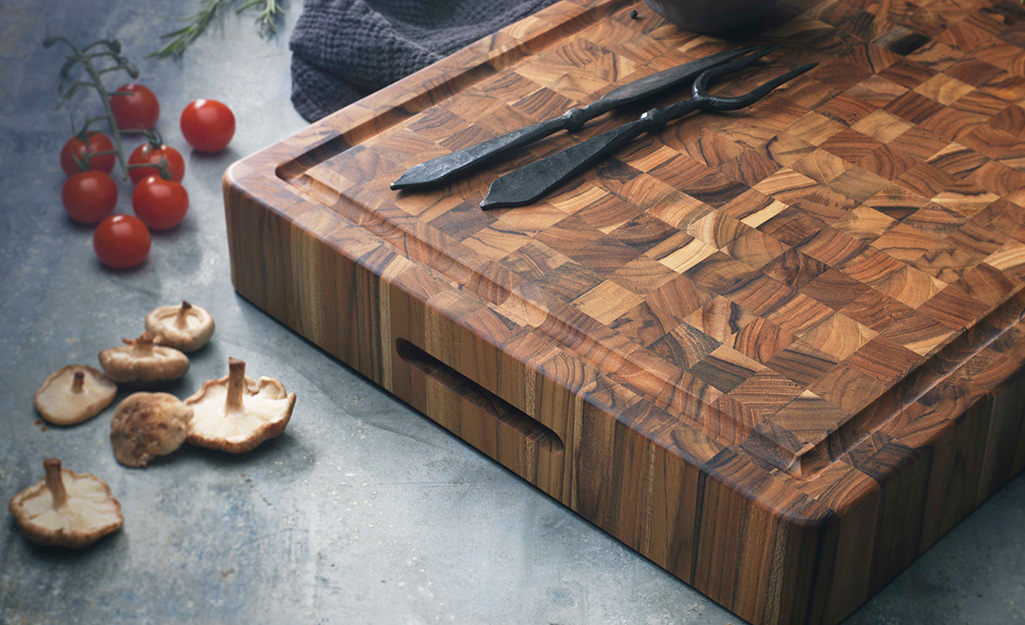
Adding Juice Grooves
Adding juice grooves to a cutting board helps keep your kitchen clean. These small channels catch liquids from fruits, vegetables, and meats. This feature prevents spills and stains on your countertop. It also makes cleaning easier after food prep. Juice grooves improve both the function and look of your board.
Tools Needed For Cutting Juice Grooves
Use a router with a round nose bit for clean grooves. A chisel can work but requires more skill. Mark the groove location with a pencil before cutting. Safety glasses and a dust mask protect you during the process. Make sure your tools are sharp and ready.
Marking The Groove On The Board
Draw a line about 1 inch from the edge. This line guides your cutting tool. Use a ruler for straight and even marking. Mark both sides if you want grooves on each edge. Clear markings help avoid mistakes and keep grooves uniform.
Cutting The Juice Groove
Set your router depth to about 1/8 inch. Slowly follow your pencil line with steady pressure. Make several passes for a smooth groove instead of one deep cut. Check the groove depth often to avoid cutting too deep. Sand the groove edges lightly to remove splinters.
Applying Food-safe Finish
Applying a food-safe finish protects your cutting board. It keeps the wood from drying out and cracking. The finish also stops water and bacteria from soaking in. This step makes your board last longer and stay safe for food use.
Choosing the right finish is important. Not all finishes are safe for food contact. Use only finishes labeled as food-safe. Common options include mineral oil and beeswax. These finishes soak into the wood and create a protective barrier.
Preparing The Cutting Board Surface
Start by cleaning the board well. Remove dust and wood particles with a dry cloth. Sand the surface smooth using fine-grit sandpaper. Wipe off sanding dust with a damp cloth. Let the board dry completely before applying the finish.
Applying Mineral Oil
Pour a small amount of mineral oil on the board. Use a clean cloth to rub the oil in. Cover every part, including edges and ends. Let the oil soak for at least 20 minutes. Wipe off any extra oil with a dry cloth.
Adding Beeswax For Extra Protection
Warm some beeswax until it melts. Apply the melted wax evenly over the board. Use a soft cloth to rub it in gently. Let the wax cool and harden. Buff the surface to a smooth shine after it sets.
Maintaining The Finish Over Time
Reapply oil or wax regularly to keep the board protected. Do this whenever the wood looks dry or dull. Avoid using harsh detergents or soaking the board in water. Proper care extends the life of your cutting board finish.
Curing And Drying Time
Curing and drying time is a key step in making a cutting board. It helps the wood become strong and ready for use. This process removes moisture and prevents the wood from warping or cracking.
Patience during curing and drying improves the board’s durability. It also ensures the wood holds oils and finishes better. Proper timing can make the difference between a good and great cutting board.
Curing The Wood
Curing means letting the wood rest after cutting. It allows natural moisture to even out inside the board. Place the board in a dry, cool place during this time. Avoid direct sunlight, which can cause cracks.
The curing period usually lasts from one to two weeks. This time lets the wood fibers settle and strengthens the board. Check the wood regularly for any signs of damage.
Drying Time
Drying removes extra moisture to prevent future warping. Air drying is the safest method for most cutting boards. Lay the board flat on a clean surface with good airflow.
Drying can take two to four weeks, depending on the wood type. Thicker boards need more drying time. Use a moisture meter to check if the board is dry enough.
Tips For Best Results
Keep the board away from heat sources during curing and drying. Turn the board often to allow even drying on all sides. Use a fan to increase air circulation if needed.
Do not rush this step. Proper curing and drying protect your cutting board for years.
Maintaining Your Cutting Board
Maintaining your cutting board keeps it safe and lasts longer. Proper care stops cracks, stains, and bad smells. Clean and treat the board after each use. This helps keep it smooth and strong.
Cleaning Your Cutting Board
Wash the board with warm, soapy water after use. Avoid soaking it in water or placing it in a dishwasher. Dry the board fully with a clean towel. Air dry it standing up to prevent warping.
Oiling Your Cutting Board
Apply food-safe mineral oil to your board regularly. Use a soft cloth to rub oil into the wood. Let the oil soak in for a few hours or overnight. This stops the wood from drying and cracking.
Removing Stains And Odors
Use coarse salt and lemon to clean stains and smells. Sprinkle salt on the board and rub it with half a lemon. Rinse with warm water and dry well. This method refreshes the board naturally without harsh chemicals.
Creative Customization Ideas
Customizing a cutting board makes it special and unique. It changes a simple kitchen tool into a personal treasure. Creative ideas can match your style and needs. These small touches also make great gifts.
Use colors, patterns, and shapes. Think about what fits your kitchen and personality. Let your imagination guide you.
Adding Engraved Designs
Engraving adds a personal touch to your cutting board. Use names, dates, or simple patterns. Laser engraving works well for fine details. Hand carving gives a rustic, handmade feel. Engraved designs do not wear off easily.
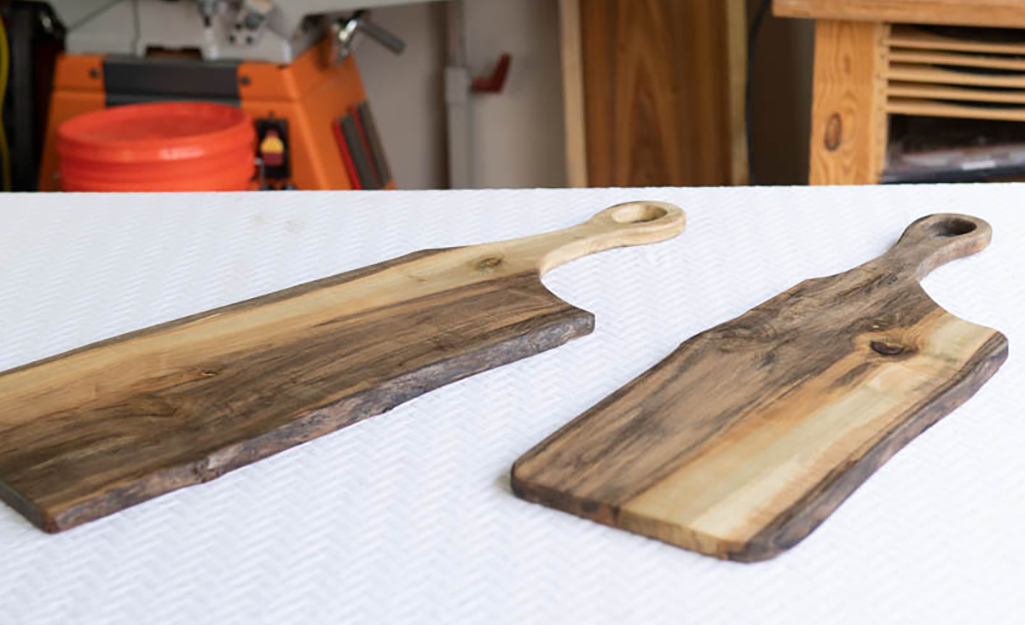
Using Different Wood Types
Mix wood types for contrast and style. Dark and light woods create a striking look. Each wood has its own texture and grain. Combine hardwoods like maple, walnut, and cherry. This makes the board both strong and beautiful.
Incorporating Resin Art
Resin adds color and shine to cutting boards. Pour resin into carved or etched areas. Choose clear or colored resin for different effects. Resin makes the board water-resistant in spots. It offers a modern twist to traditional wood.
Creating Functional Features
Add juice grooves to catch liquids and keep counters clean. Include handles for easy carrying. Small compartments can hold chopped ingredients. Non-slip feet keep the board stable. These features improve use and appearance.
Frequently Asked Questions
What Materials Do I Need To Make A Cutting Board?
You need wood, wood glue, clamps, sandpaper, mineral oil, and basic tools like a saw and drill.
How Long Does It Take To Make A Cutting Board?
It usually takes 2 to 4 hours, including cutting, gluing, sanding, and finishing.
What Type Of Wood Is Best For Cutting Boards?
Hardwoods like maple, walnut, and cherry are best because they are strong and safe for food.
How Do I Finish A Homemade Cutting Board?
Apply food-safe mineral oil or beeswax to protect and seal the wood surface.
Can I Make A Cutting Board Without Woodworking Experience?
Yes, simple designs and basic tools make it easy for beginners to create a cutting board.
Conclusion
Making a cutting board is a fun and useful project. You need some basic tools and wood. Follow the steps carefully and take your time. A homemade cutting board lasts long and looks great. It also makes a nice gift for friends.
With practice, your skills will improve quickly. Enjoy the process and be proud of your work. Now, you have a new kitchen tool made by you. Give it a try and see the difference.